|
Heribert Cypionka 2009-05-31 e-mail: Cypionka[at]icbm.de InstallationNote: Even if you are are not online and did forget to print out this tutorial, this text is available within the program under 'Help'. Select files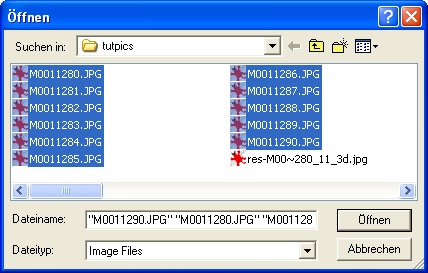
A list of the selected images is shown in the listbox, and the first image of the list is displayed. 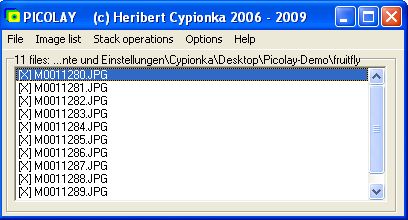
To browse through the list just click on the names. You can zoom in and out ([+] and [-] on the image frame), and you will have the same position with all images. To unmark or mark images, double-click a name, the 'X' in at the left will disappear (or re-appear, if you double-click again), and the corresponding image will not be regarded during the following stack operations. Note: All pictures should have the same dimensions and have the JPEG or Bitmap format. Tif files might work also, but this is not guaranteed. The names of the files should have the same alphabetical sequence as the layers they were taken. You can reverse the order under 'Image list' depending on whether you started with the uppermost or lowermost layer. PICOLAY assumes that the first images shows the uppermost layer and requires the image names in the corresponding alphabetical order. PICOLAY will not change the original files. However, automatically generated files will overwrite older versions. Next time you start PICOLAY the last picture directory will be remembered. In order to practice, [download here a series of pictures] taken at different focus levels and extract them into a new directory. Here are four of the eleven pictures used for this tutorial: 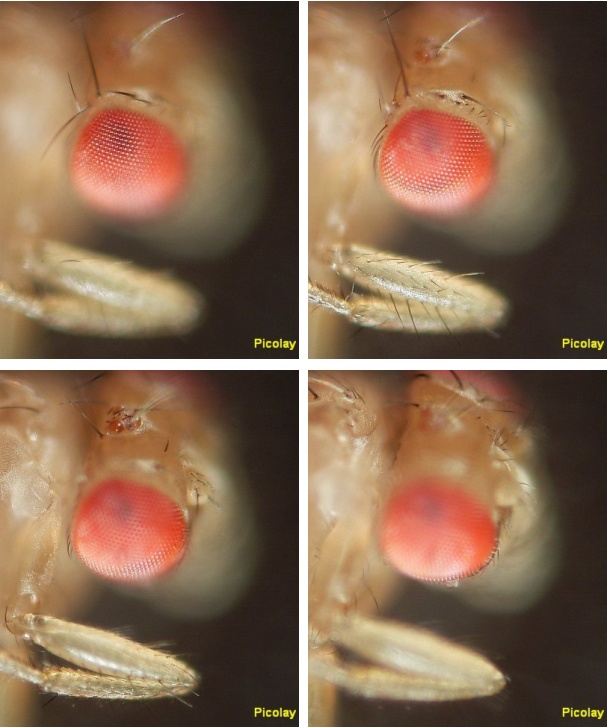
Averaging images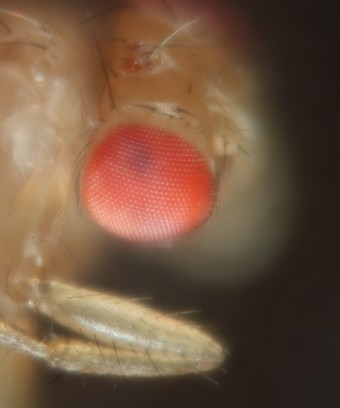 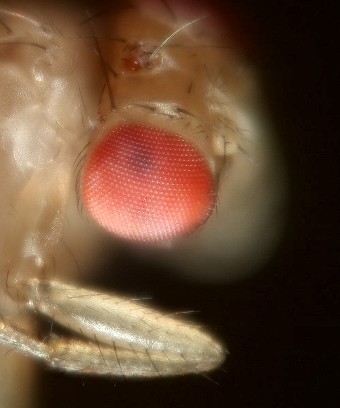
After clicking on the file name in the list and then [Enhance image] when it is displayed, you can test (and finally apply) changed parameters, until you get a result like the one shown at the right: 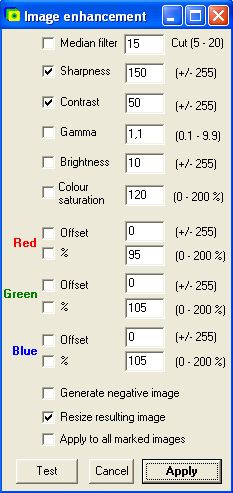
Stacking the images to select sharp areas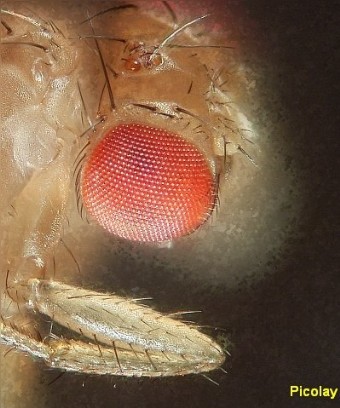 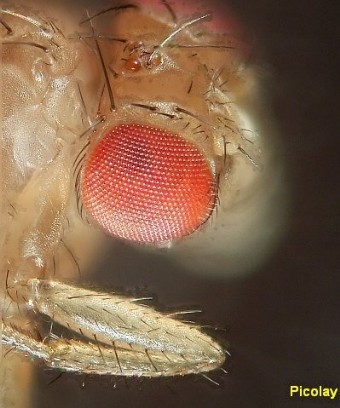
This has more brilliance than the first results, but still some ugly stains. These are the result of the stacking parameters applied. If we change the 'Filter frame size' to 5 (which means that sharpness is defined by the difference over a larger distance), and set the minimum contrast to 11 (that means pixels with a lower contrast than this value will be set to the average), and check 'Smooth 2-D map' we get the result on the right. This picture shows much more details than that derived from the average. And it has a big advantage for scientific use: It is composed of original (or averaged) pixels found in the z-stack, exclusively. A colour map of the layers from which the pixels are derived is generated, too, and can be seen by clicking on '[Flip view=] Result: 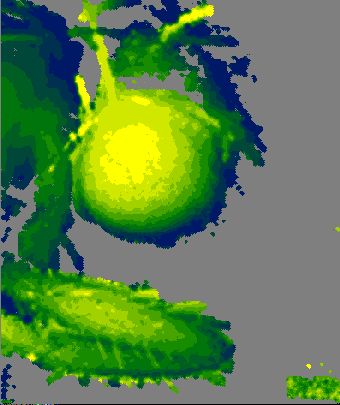
How to generate three-dimensional pictures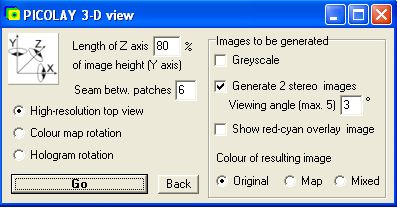
Check 'Generate 2 images (+/- 2°)' in order to get the following files (which are automatically saved and displayed in your image list): 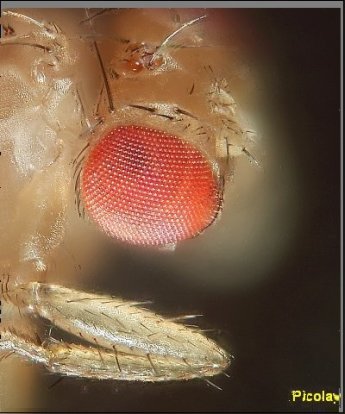 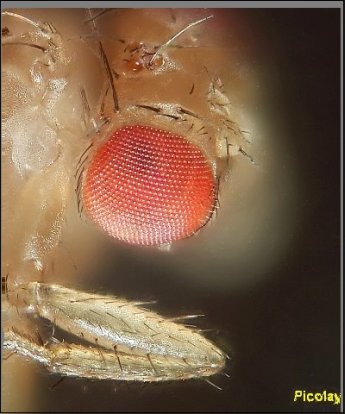 At a first glance these picture do not look very different from those above, even a bit less sharp. However, they are showing two different perspectives. And you can get a three-dimensional impression when you look at them as described here: 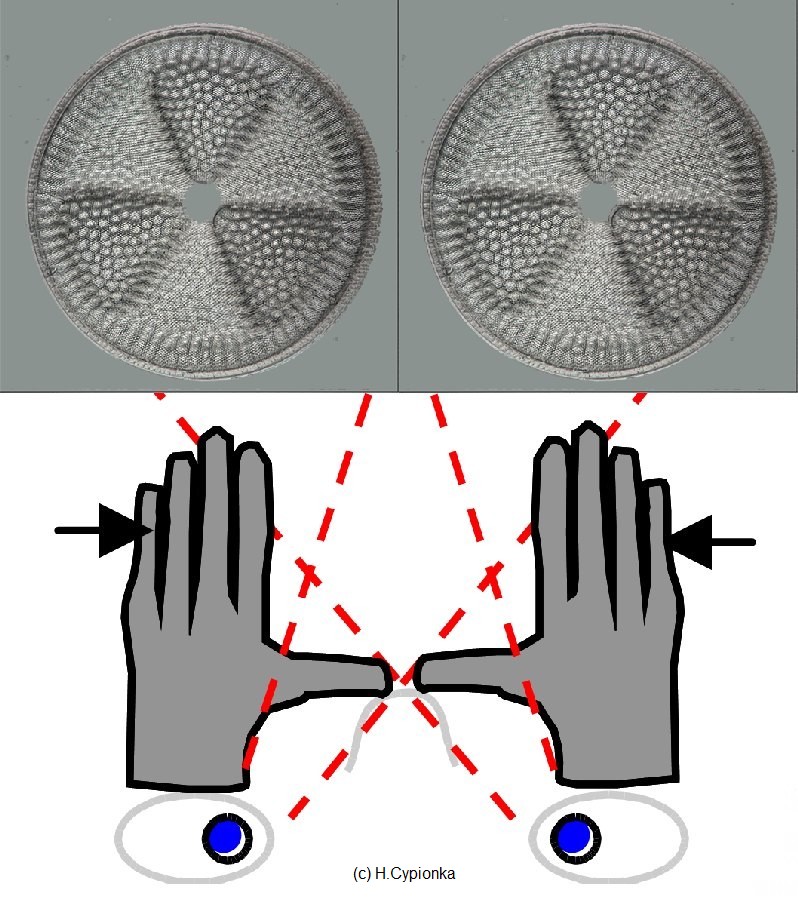 Just keep your hands in front of your face in a manner that forces the right eye to see the left image and vice versa ('cross-eyed' viewing). Then wait a bit while playing with the focus of your eyes. (The tick images also were generated by PICOLAY from a single stack) For some people, it is easier to see 3-D images by parallel ('wall-eyed') viewing. These should look at the next example, while they prevent the left eye to see the right image and vice versa:
For those who still don't have the fantastic 3-D impression at this point, a red-cyan (or red-green) glasses might help as the final solution. The image is generated after checking the corresponding item in the 3-D view window (plus 'Go'): 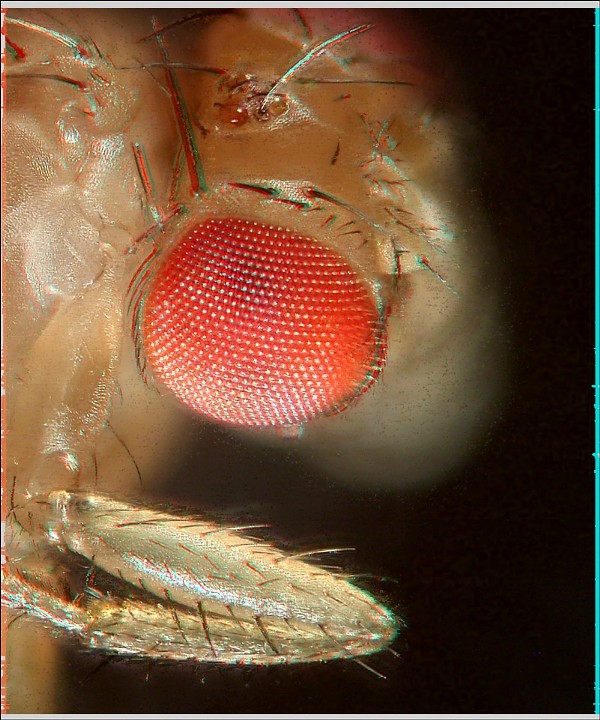 Look at it through the cyan or green glass on the right, and the red glass on the left eye. For those unhappy people who still didn't get it (and for those interested in other 3-D aspects of their object) the layer model can be rotated in any direction around the x- y- and z-axis [thanks to Jöran März for help with the cos and sin calculations!], as shown here for the shell of a diatom:  The rotation can be varied stepwise and saved automatically in order to generate images that can be combined in an animation. Select for coloursAdding and subtracting images 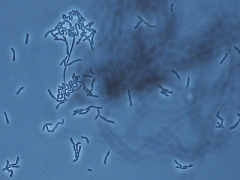 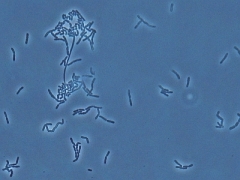 FinallyGood luck and many great images! Please let me know of any possible problems. And don't forget to check for new versions (look at your Version Date under 'Help'/ 'Info'), since I am still developing the program. |